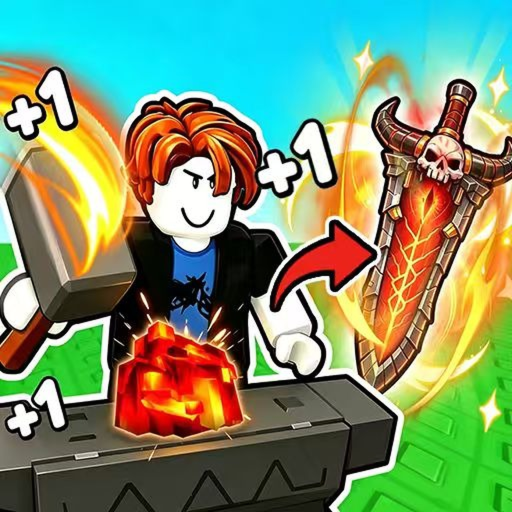
Enhance +1 Loot To Forge Enemy Progression
Use this Enhance +1 Loot To Forge enemy progression to explain how enemy difficulty, rewards, and player readiness change across progression.
This Enhance +1 Loot To Forge enemy progression answers one practical player decision: explain how enemy difficulty, rewards, and player readiness change across progression. Start from the known Power–combat–ore–forge loop, keep changing values in the live interface, and finish with an outcome you can actually observe.
Read the documented stage sequence
Documented examples move from Goblins and Armored Goblins in stages two through four to Desert Zombies in five and six, Jackal Zombies in seven, and Pharaoh Zombies plus the Desert Reaper in stage eight. Treat that as a scoped progression example, not a complete enemy encyclopedia.
Use the approved current-game video below to recognize the relevant interface, stage, or equipment context. Watch for the specific action discussed here, then verify it on your own account; footage is useful orientation, while the current game remains the authority for a changing requirement or value.
A good comparison changes one decision at a time. Keep the dungeon stage, equipped baseline, and immediate goal stable whenever possible. If training, gear, route, and resource use all change together, a win cannot explain which choice helped and a loss cannot show what to repair.
Use enemies as readiness signals
Use the checkpoints below as a decision tool. Each row connects a current-game subject to an action and a visible conclusion; it does not fill gaps with hidden rates, invented prices, or mechanics copied from another Roblox experience.
| Checkpoint | What to inspect | How to act |
|---|---|---|
| Stages 2-4 | Goblins and Armored Goblins | Establish the combat loop |
| Stages 5-6 | Desert Zombies | Collect the documented ore pool |
| Stage 7 | Jackal Zombies | Prepare for the next difficulty step |
| Stage 8 | Pharaoh Zombies and Desert Reaper | Train and improve gear before pushing |
Keep shared conditions outside the table: use the same current build, record what the account can reach, and compare the same stage or panel before and after the change. Exact values deserve a date and visible context; without both, treat them as live checks rather than permanent rules.
Prepare for the stage-eight wall
Follow this page-specific workflow in order:
- Choose a stage whose enemies and drops serve the current goal.
- Enter with the current Power and equipped gear recorded.
- Watch whether low damage or incoming damage ends the run first.
- Collect visible ore and return to the hub when the run succeeds.
- Repair one problem through training or equipment, then replay the same checkpoint.
The final observation is the important part. Improvement should solve a named problem: an enemy falls sooner, the player survives the same stage, a carried material reaches the hub, a Forge result is equipped, or a claimed reward appears. If nothing observable changes, preserve remaining resources and revisit the diagnosis before repeating the spend.
Avoid treating examples as a full roster
Continue only while the action still serves the next progression objective. Change course when the live interface contradicts the assumption, the same failure repeats after one controlled retry, or the cost removes resources needed for a more important step. More clicks, crafts, or stage attempts are not automatically better once they stop changing the checkpoint.
A useful stopping rule leaves the account easier to understand than before. Record the stage or screen, the change made, and the result. That short note prevents a later update, an old video, or a lucky run from becoming an unsupported universal claim.
For the current experience and live interface, open Enhance +1 Loot To Forge on Roblox.
FAQ
What should I verify first for enemy progression?
Verify the current in-game label, requirement, equipped state, and result attached to the decision. Use the documented game loop as the anchor, but read any changing cost, rate, recipe, or availability from the live account.
When should I stop this plan?
Stop when the promised result is visible, the same failure repeats after one controlled change, or the live interface shows a different rule. Bank remaining resources and choose the next bottleneck instead of defending the first guess.